Cursor MCP Integration
Overview
Below is a comprehensive guide to add CreateOS MCP. If required, see the Cursor documentation for more details. Integrate CreateOS with Cursor IDE using the MCP (Model Context Protocol) to enable AI-powered deployment workflows directly from your development environment.
Prerequisites
- Active Cursor IDE installation
- CreateOS account with API key access
- Git configured and connected to Cursor
- Latest code changes committed and pushed
Setup Instructions
Step 1: Access MCP Settings
- Open Cursor IDE
- Navigate to Settings → MCP
Step 2: Add New MCP Server
- Click "New MCP Server"
- Cursor will open your
mcp.jsonconfiguration file
Step 3: Configure Connection Settings
Paste the following configuration into your mcp.json file:
JSON
Getting Your API Key:
- Log in to CreateOS
- Navigate to Profile Settings
- Copy your API key from the API Key section
Watch Tutorial →
Security Note: Keep your API key confidential and never share it publicly.
Replace "CREATEOS_API_KEY" with your actual CreateOS API key in the configuration.
Step 4: Apply Configuration
- Save the
mcp.jsonfile - Restart Cursor IDE to apply the configuration changes
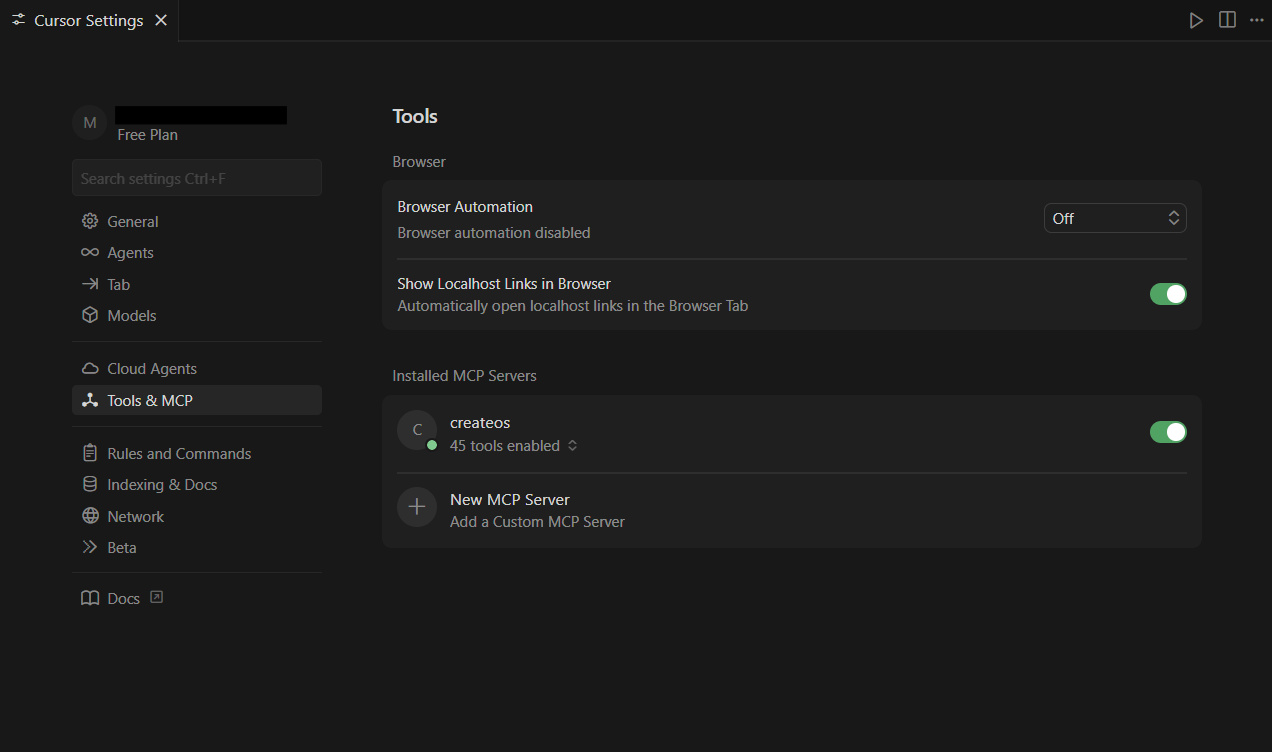
Step 5: Verify Installation
- Go to Settings → Tools & MCP
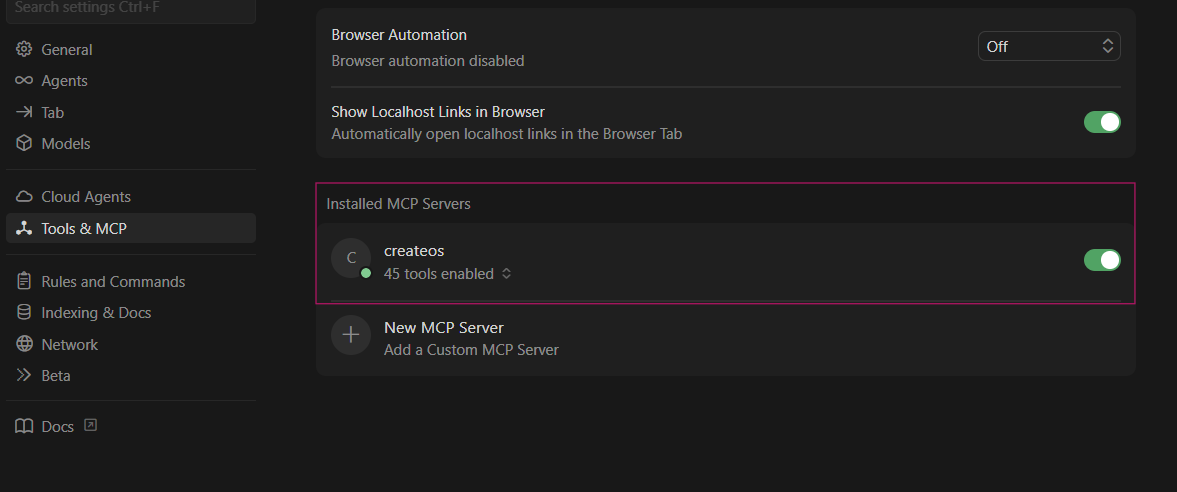
- Under "Installed MCP Servers", locate "createos"
- If not enabled, click on it to enable the server
If the server doesn't appear, confirm:
mcp.jsonsyntax is correct- API key is valid and active
- Cursor IDE was fully restarted
- Git is properly configured and connected
Step 6: Start Using CreateOS
Once configured, you can prompt Cursor to deploy using CreateOS MCP or access its tools directly through the AI assistant.
For more details, see the Cursor documentation.
Resources
- MCP Server (GitHub): github.com/NodeOps-app/createos-mcp
- Skills (GitHub): github.com/NodeOps-app/skills
- MCP Operations: Full list of 75+ tools
Demo Video
Vibecode and deploy through CreateOS MCP: Demo