Windsurf MCP Integration
Overview
Integrate CreateOS with Windsurf IDE using the MCP (Model Context Protocol) to enable AI-powered deployment workflows directly from your development environment.
Prerequisites
- Active Windsurf IDE installation
- CreateOS account with API key access
Setup Instructions
Step 1: Access MCP Settings
- Open Windsurf IDE
- Navigate to Windsurf Settings
- Go to Cascade → MCP Servers → Open Marketplace
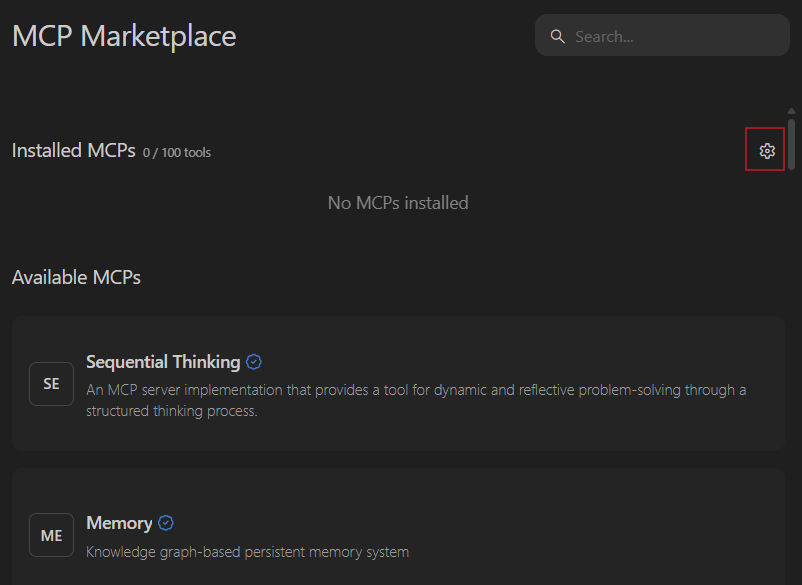
Step 2: Open MCP Configuration
- In the MCP Marketplace, locate the settings icon for Installed MCPs
- Click on the settings icon
- Windsurf will open the
mcp.jsonconfiguration file
Step 3: Configure Connection Settings
Paste the following configuration into your mcp.json file:
JSON
Getting Your API Key:
- Log in to CreateOS
- Navigate to Profile Settings
- Copy your API key from the API Key section
Watch Tutorial →
Security Note: Keep your API key confidential and never share it publicly.
Replace "CREATEOS_API_KEY" with your actual CreateOS API key in the configuration.
Step 4: Save Configuration
- Save the
mcp.jsonfile - Close the configuration editor
Step 5: Verify Connection
- Navigate back to Cascade → MCP Servers → Open Marketplace
- Verify that "createos" appears in the list of installed and connected MCP servers
If the server doesn't appear as connected, confirm:
mcp.jsonsyntax is correct- API key is valid and active
- Configuration file was properly saved
Step 6: Start Using CreateOS
-
Click on the Windsurf logo to open the chat interface
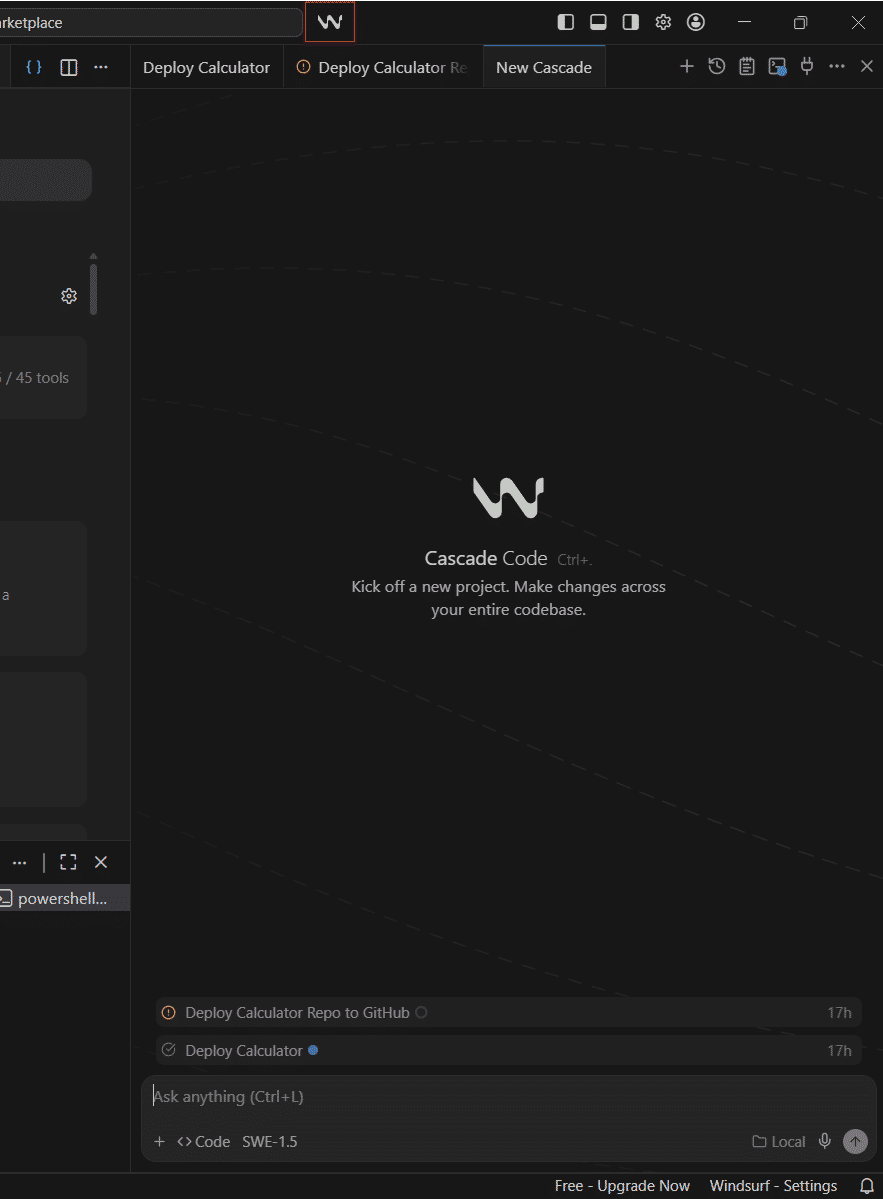
-
You're now ready to use CreateOS MCP
-
Prompt Cascade to deploy your applications using CreateOS
Resources
- MCP Server (GitHub): github.com/NodeOps-app/createos-mcp
- Skills (GitHub): github.com/NodeOps-app/skills
- MCP Operations: Full list of 75+ tools